I still blame Matt Birchler for putting the idea in my head, I was quite happy on WordPress (not completely but pretty happy) and then he comes in and introduces Ghost to me, and I moved within a few days. On first look it seems like a ridiculously expensive option, and more suited to larger companies, but if you don’t want to splash out the $29/per month there are other options.
If you want to get a Ghost blog set up, its pretty easy to host it ‘yourself’, here is a short guide on doing it on a Digital Ocean droplet.

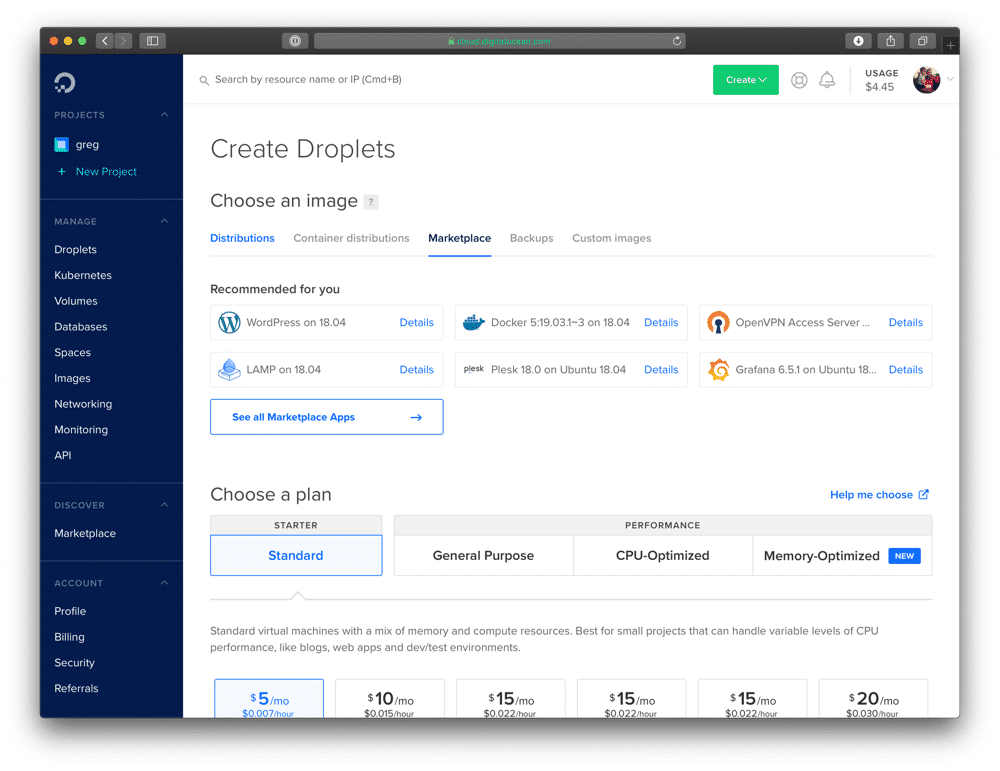
Create A Droplet
Signing up for a Digital Ocean account and creating a droplet is really straight forward. Most blogs will only need a $5 a month droplet unless you are getting serious traffic.
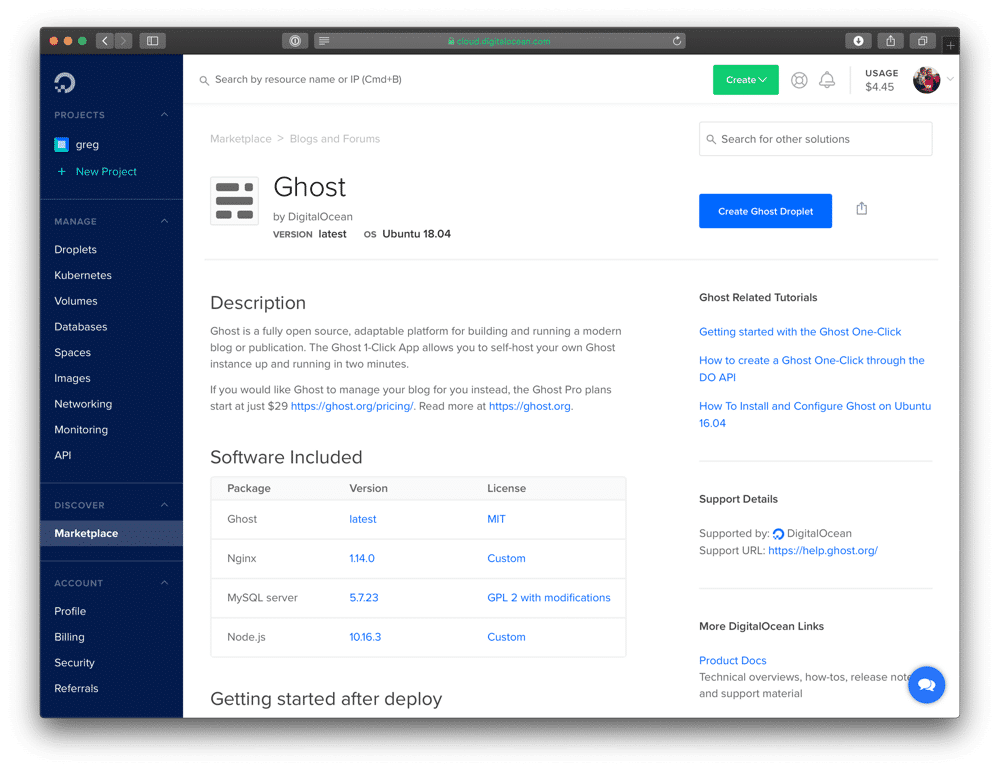
Click on Market place under ‘Choose an image’, this does allow you to choose loads of different options – but if you’re reading this guide you’ll find Ghost under ‘blogs and forums’. Once selected you will see a guide underneath detailing your requirements after your droplet is set up. On this page you will also find all information about the version being installed.
 It won’t matter too much where your data centre is, so choose your preference – if things like GDPR and also government monitoring are important to you, then choose wisely. Give your droplet and name and then let it do its thing.
After Creation
Once completed, you will receive an email from Digital Ocean with your Droplet IP address and SSH password. Keep this information extremely safe and do not share with anyone.
Point Your Domain
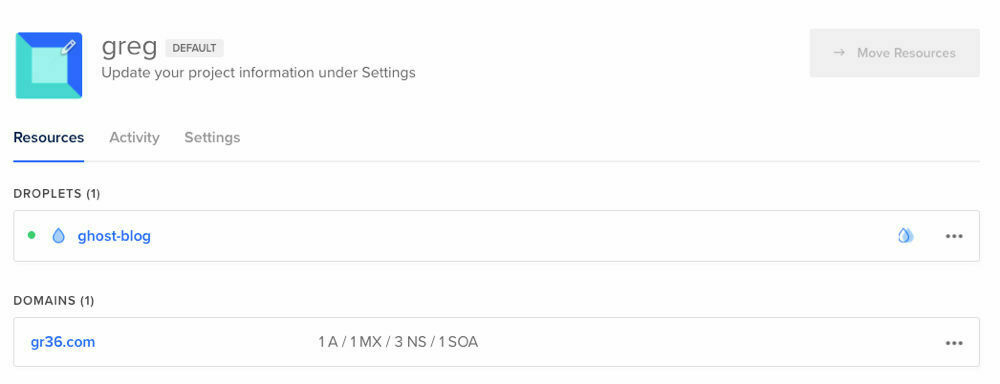
On your Digital Ocean Project page, add your domain. This will populate the NS records and give you your name severs. This is more than likely going to be ns1.digitalocean.com., ns2.digitalocean.com. and ns3.digitalocean.com. – add these to your domain settings.
 Also add in an A record in Digital Ocean, with a host name of
 @ and direct it to your IP address of the droplet. It is vitally important you wait for all changes to propagate before continuing otherwise you may have issues with setting up Ghost. I would advise you to wait 24 hours.
Once you are happy the domain information has properly propagated, continue to setting up the blog.
SSH Into Your Droplet
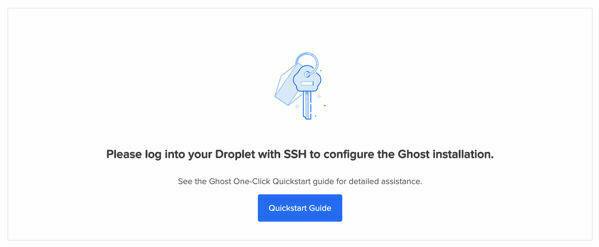
Nothing will be live until you SSH into your droplet and set up Ghost. You should see a page telling you as mush if your domain has propagated correctly. Open your terminal and type in:ssh root@your-ip-address
The sever will ask for your password, copy and paste this in, and then immediately make you change it. You will need to put your current one in again, and then choose a new one – Keep this safe!
Once this is done Ghost will download updates and set itself up. Press Enter.

You won’t need to put in any details about SQL databases or directories, you will have to put in your blog URL. Do this with the https:// on and Ghost will set up your Let Encrypt certificate for you. This is where the installation will fall down if your domain is not properly propagated.
Ghost will be installed and set up at /var/www/ghost
If everything goes ok, you will be given a url of https://your-url/ghost. Head to this address and set up your profile and blog title. If you want to migrate from WordPress, here’s some points to consider.
Leave A Reply Instead?
Read Comments (0)