Since first trying Ghost, one of the best things about editing my theme is the ability to host on Github. Through a simple integration I can easily edit my theme to make changes from almost anywhere. If you want to do this too, this guide should help you out.
Ghost Integration
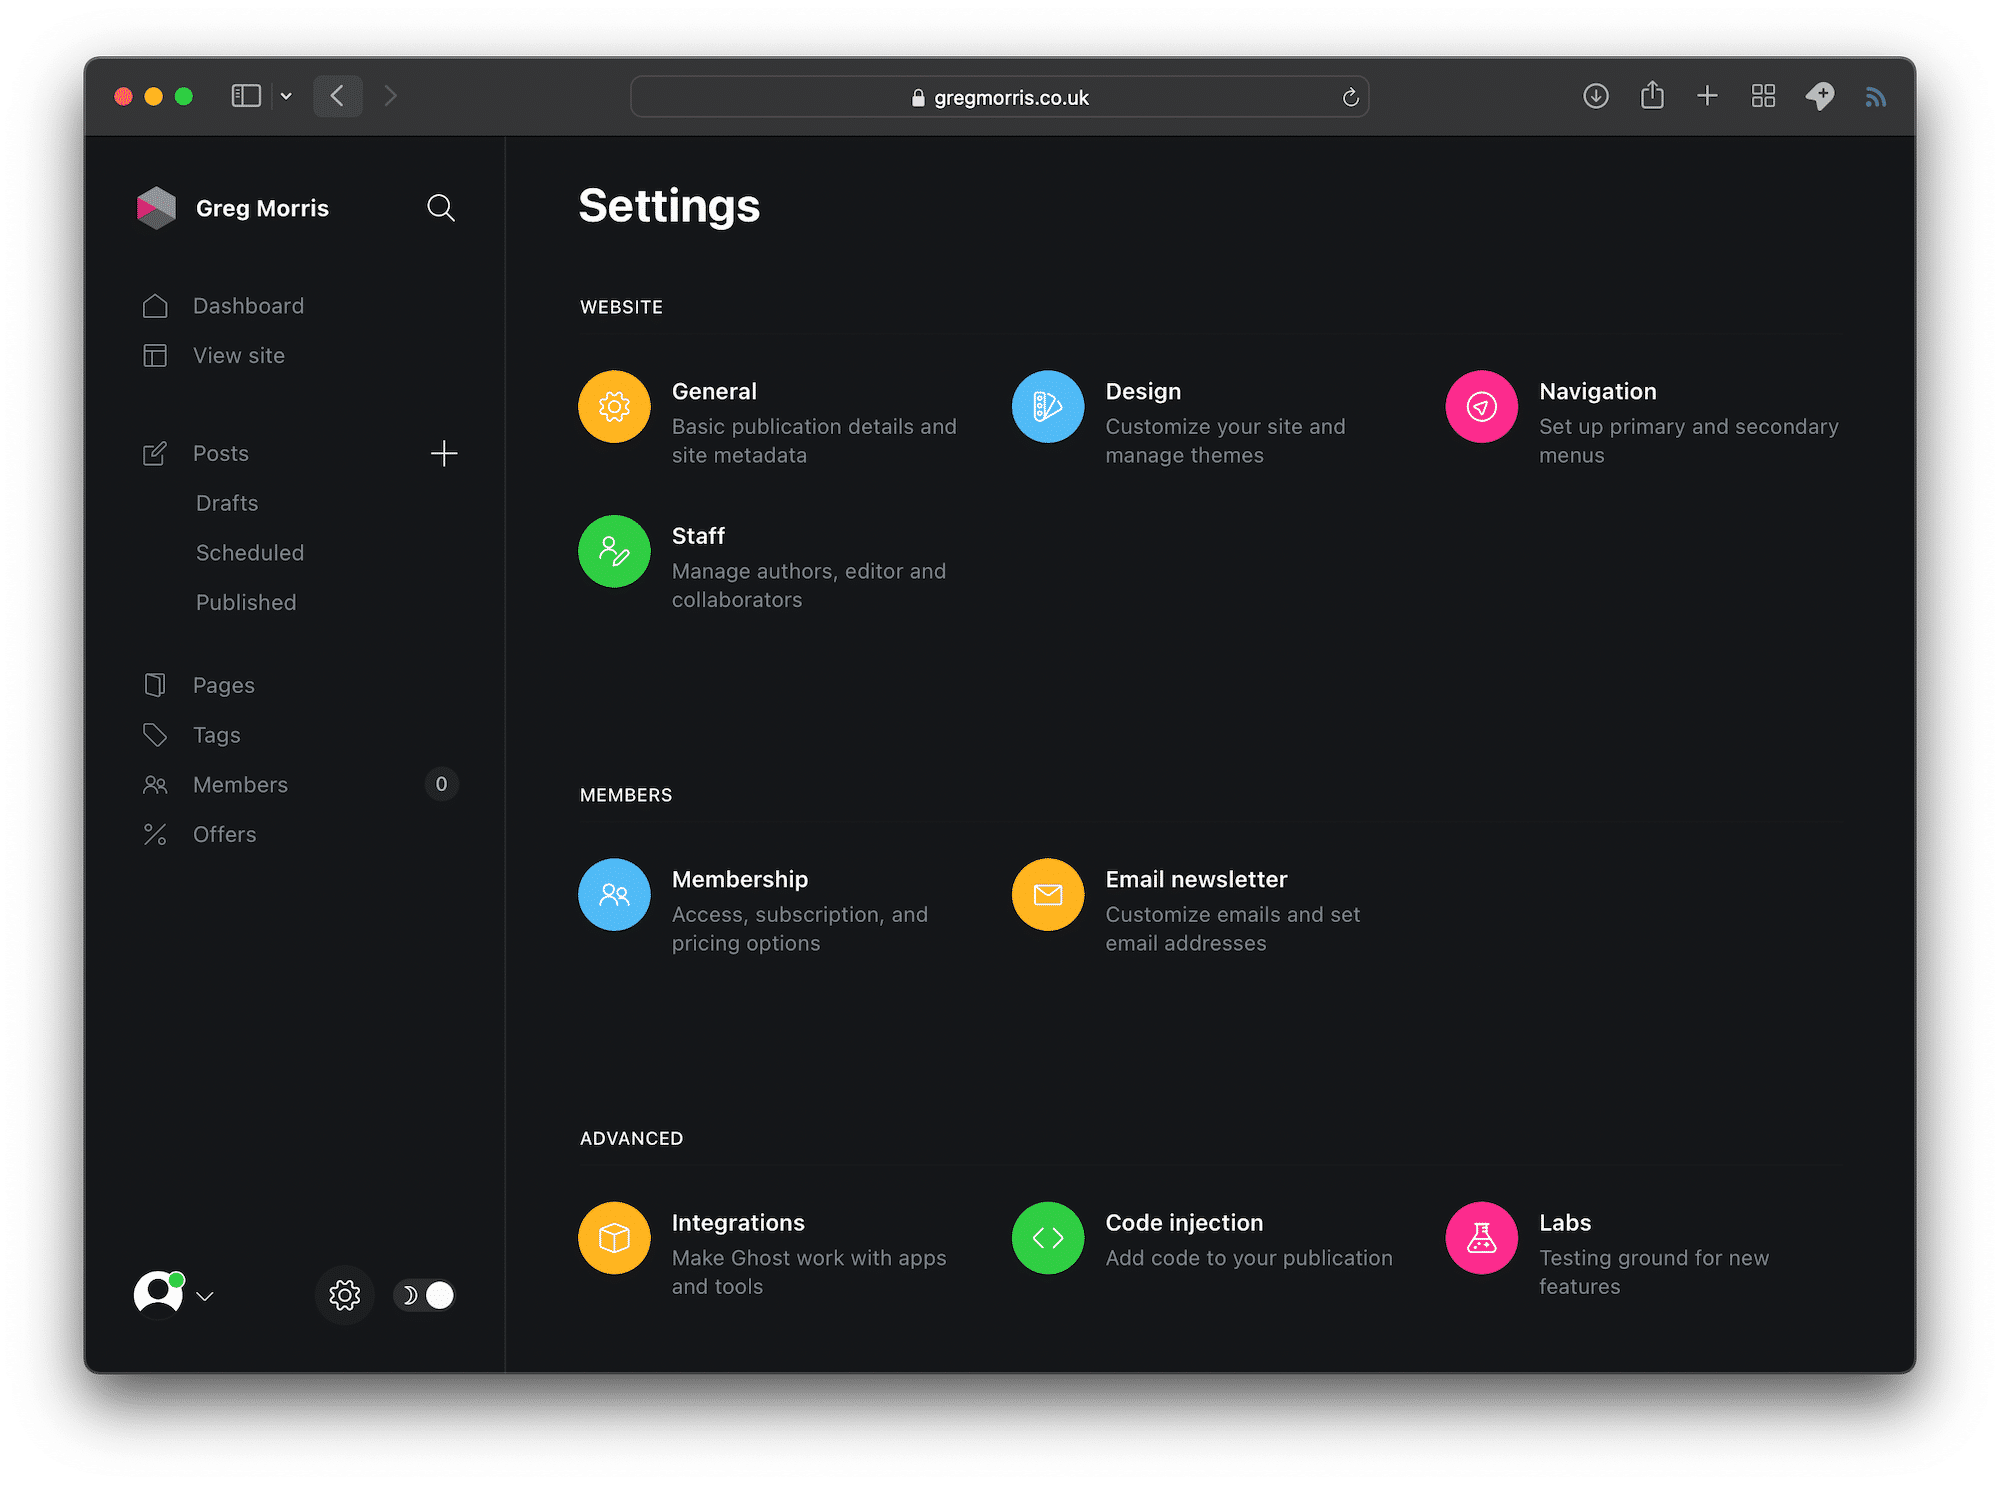
First set up the Github integration on your Ghost install, this provides you with an API Key that you will need when using Github. Head to the settings cog at the bottom of you control panel and click on Integrations.

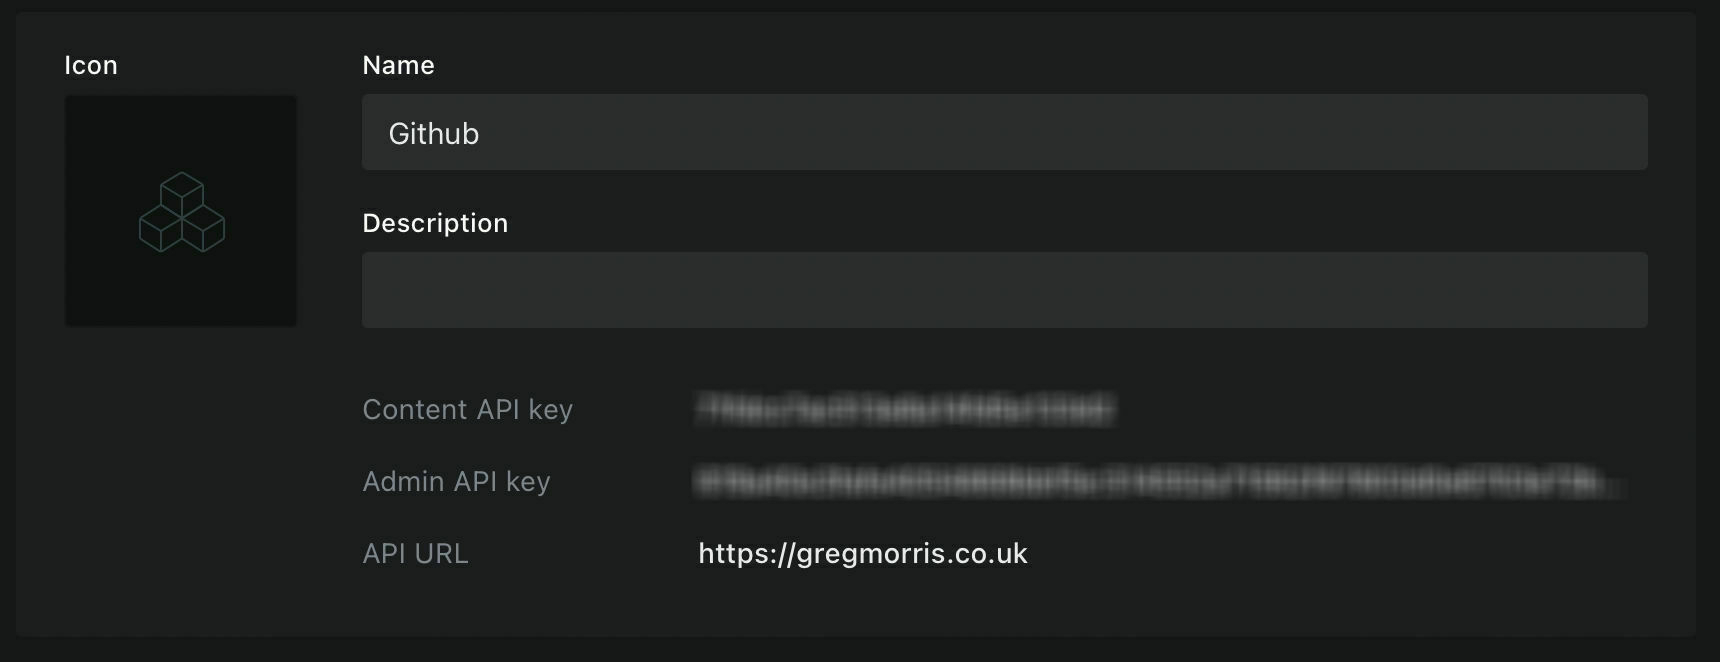
Create a new integration and give it a name. On the next screen make a note of the Admin API URL and the Admin API Key. Please keep these private as these allow access to your blog content.

Github Set Up
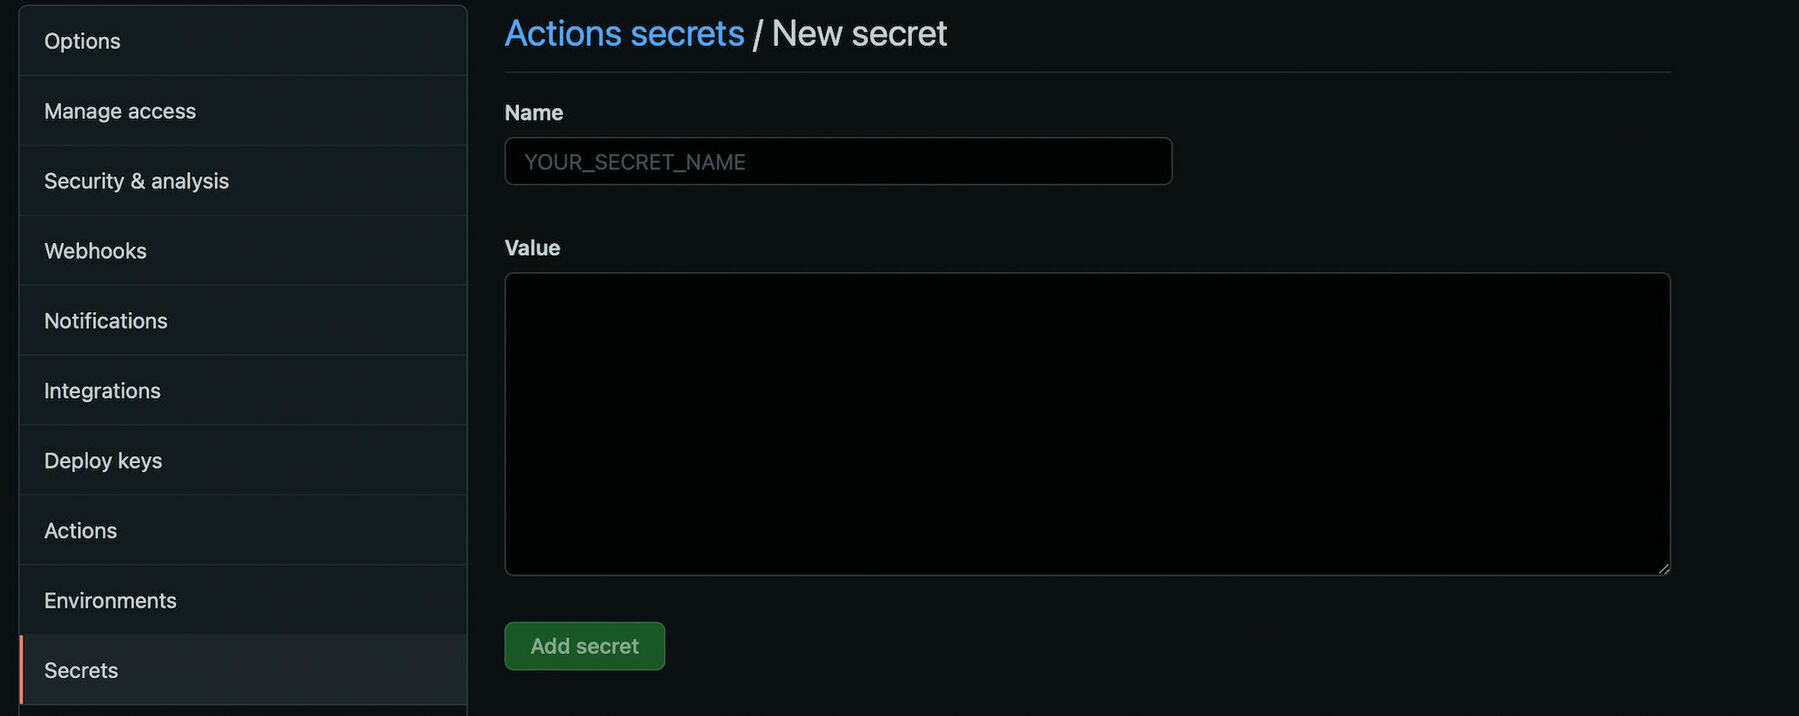
Secondly you will need to host all of your themes files on Github. Make a private repo, give it a name that represents your theme and head to settings > secrets. Click ‘New repository secret’ and set up GHOST_ADMIN_API_URL and GHOST_ADMIN_API_KEY with the integration details you set up earlier.

Once you have done this upload all of your theme files to the repo and commit them. The last step is to create a new file in your repo .github/workflows/main.yml. This file needs to contain the following.
name: Deploy Theme
on:
 push:
 branches:
 - master
 - main
jobs:
 deploy:
 runs-on: ubuntu–18.04
 steps:
 - uses: actions/checkout@master
 - uses: TryGhost/action-deploy-theme@v1.4.1
 with:
 api-key: ${{ secrets.GHOST_ADMIN_API_KEY }}
This theme will now show up in your design settings, however you will need to make a change to you theme to trigger this. Adding in some text to your readme file is the easiest way.
You can now make changes to your theme through whatever way is easiest for you. I use Visual Studio Code, but on iPad I found the best app is Working Copy. Every time you push a change GitHub will build your site and them push these to your live site, this usually takes less than a minute.
Leave A Reply Instead?
Read Comments (0)